Lost Wax Casting
The lost wax casting process realizes the printer's potential. In hours, a part can be imagined, designed, and printed in wax. The wax model can then be molded, melted out of the mold, and then cast in the appropriate metal in the same day.
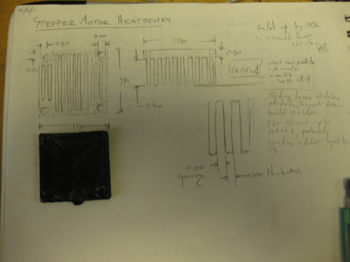
I tested this combination of techniques when I decided to fabricate two heat sinks for the stepper motors that drive my XY translator. To ensure adequate torque for the translation system, I was driving them at a voltage that was likely over their recommended operating voltage. Because this voltage was likely over their recommended level, the motors (unsurprisingly) often got quite hot after extended use. I decided to design, print, and cast heatsinks for these stepper motors.
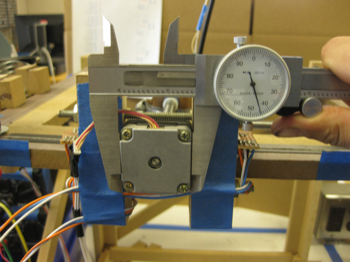
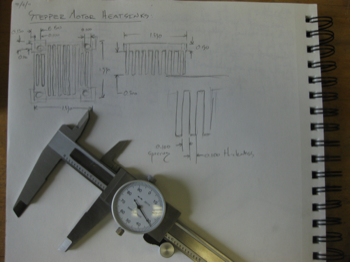
Left: measuring the stepper motor. Right: designing simple heat sinks.
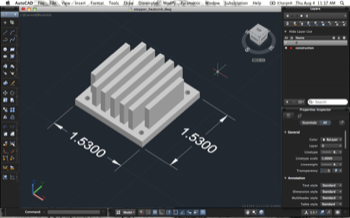
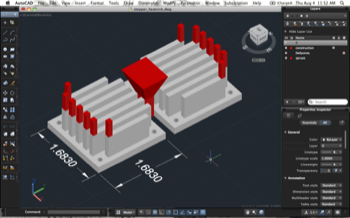
Left: a single heat sink in autoCAD. Right: the planned piece to print, including a sprue and vents (red).
After roughing out the design on paper, I formalized the design in autoCAD, which can export to .stl. Because I knew that I was going to be casting these parts later, I went ahead and designed the sprues and vents into the model so that they would be printed too.
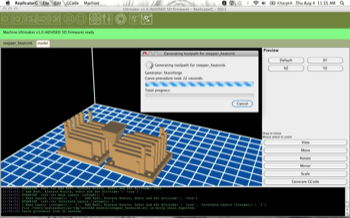
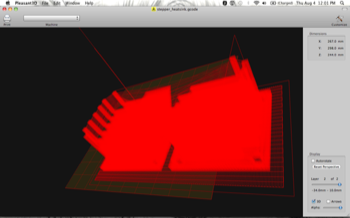
Left: generating GCode for the print in ReplicatorG. Right: the GCode visualized, illustrating the laser path.
Next I imported the part into ReplicatorG and generated the GCode for the print. After seeing the estimated 10 hour print time for the two heatsinks, sprue, and vents, I decided to proceed with a simpler, single heatsink print without the sprue or vents, which I could attach by hand after the print was finished.
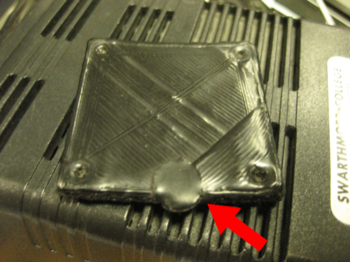
Left: the unfinished heat sink print. Right: the location at which the translation system failed, melting a portion of the print.
The print proceeded smoothly for half an hour or so and I worked on my computer next to the printer. After half an hour of whirring stepper motors and the clicking of the laser's shutter solenoid, I noticed an ominous stop in the hum of the translation system's steppers. I checked the flow of GCode to the printer and saw that commands were still being sent. I then saw that the laser, no longer making its rounds on the print bed, was steadily melting a growing puddle in the powder. I turned off the laser and aborted the print. The stepper motors had (ironically) overheated during the print of the part that was to save them.
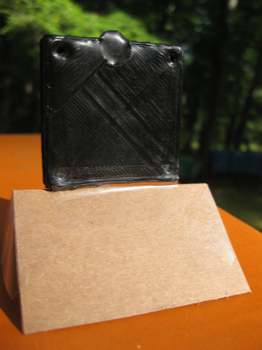

I affixed the wax piece to a piece cardboard and placed it such that it hung in the middle of the simple mold that I made.
Though the print was a failure, I was still left with a good-sized solid wax object with several features that could be used to evaluate the casting process. Given that my translation system was likely fried, I proceeded with my test of the lost-wax casting process with this sample of my print material.

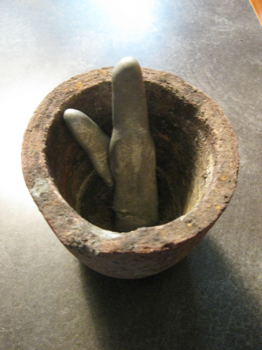
Left: the poured plaster mold. Right: my graphite crucible holding two Zinc ingots.
I used plaster as my mold material because jewelers often use it for lost-wax casting. It has a fine particle size, cures quickly, and is easily found at the hardware store. I used two Zinc ingots left over from a metallurgy project in high school because of their low melting temperature.
Pouring the piece. The smoke was from the combustion of wax residue in the plaster.
After the mold cured, I removed the cardboard, inverted the mold over Aluminum foil, and baked it for several hours at 200 degrees Fahrenheit and then increased the temperature to 400 to preheat the mold before casting. Much of the wax melted out easily, but some leached into the plaster, leading behind thicker layers of carbon powder than I had been hoping for (I expected some residue to be left and that it would aid in parting the cast piece from the mold).
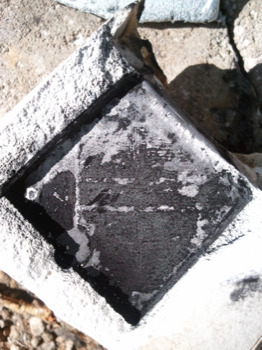
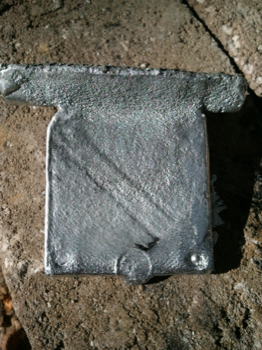
Left: after casting (note the wax residue near the lip of the mold). Right: the cast piece.
The mold captured much of the surface detail of the piece, but the thick build-up of carbon powder obscured much of this detail in the casting. On the whole, it was a successful first proof-of-concept exercise, but there is plenty of room for improvement.